


Upgrading your office furniture with an in-desk wireless charger is an effective way to incorporate modern conveniences into your workspace. In-desk solutions offer a clean, seamless look, closely mimicking the features of high-end desks with built-in wireless charging. Follow this step-by-step guide to retrofit your desk like a pro.
Materials Needed
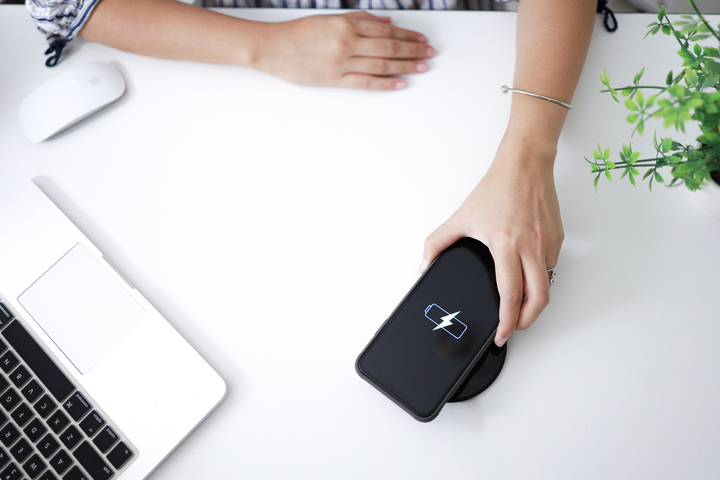
- In-Desk Wireless Charging Kit
- Drill with hole saw attachment (size as specified by the kit)
- Screwdriver
- Pencil or chalk for marking
- Measuring tape
- Safety goggles
- Sandpaper (optional)
Preparation
-
Read the Instructions: Always start by thoroughly reading the instructions provided with your in-desk wireless charging kit.
-
Check Compatibility: Make sure that the charger is compatible with your desk's material and thickness, as well as the devices you plan to charge.
-
Safety First: Before beginning any work, make sure to put on safety goggles to protect your eyes from dust and debris.
-
Unplug All Electrical Devices: For safety reasons, ensure that all electrical devices on or near the desk are unplugged.
Installation Steps
Mark the Spot
-
Use a measuring tape to find the ideal location for your wireless charger. Consider the ease of access and where you usually place your devices.
-
Mark the center of where the hole will go with a pencil or chalk.
Drill the Hole
-
Attach the hole saw to your drill, ensuring it matches the size specified in your wireless charging kit's instructions.
-
Drill a hole where you marked, applying steady pressure. Make sure to hold the drill as vertically as possible for a straight hole.
-
Optional: Use sandpaper to smooth out any rough edges around the hole.
Install the Charger
-
Insert the wireless charging module into the hole you've just created. It should fit snugly.
-
If the kit includes screws to secure the module, use a screwdriver to attach it securely to the desk.
-
Connect the power adapter to the charging module and plug it into a wall outlet.
Test the Charger
-
Place a compatible device over the new wireless charging spot to make sure it charges as expected.
-
If the charger is not working, double-check all connections and consult the troubleshooting section in the kit's instruction manual.
Conclusion
Congratulations, you've successfully upgraded your existing office desk with an in-desk wireless charger! Not only have you added a convenient feature to your workspace, but you've also done so in a way that is integrated and aesthetically pleasing. Enjoy your new clutter-free, wire-free charging experience!
